Can I Use Canvas For Punch Needle?
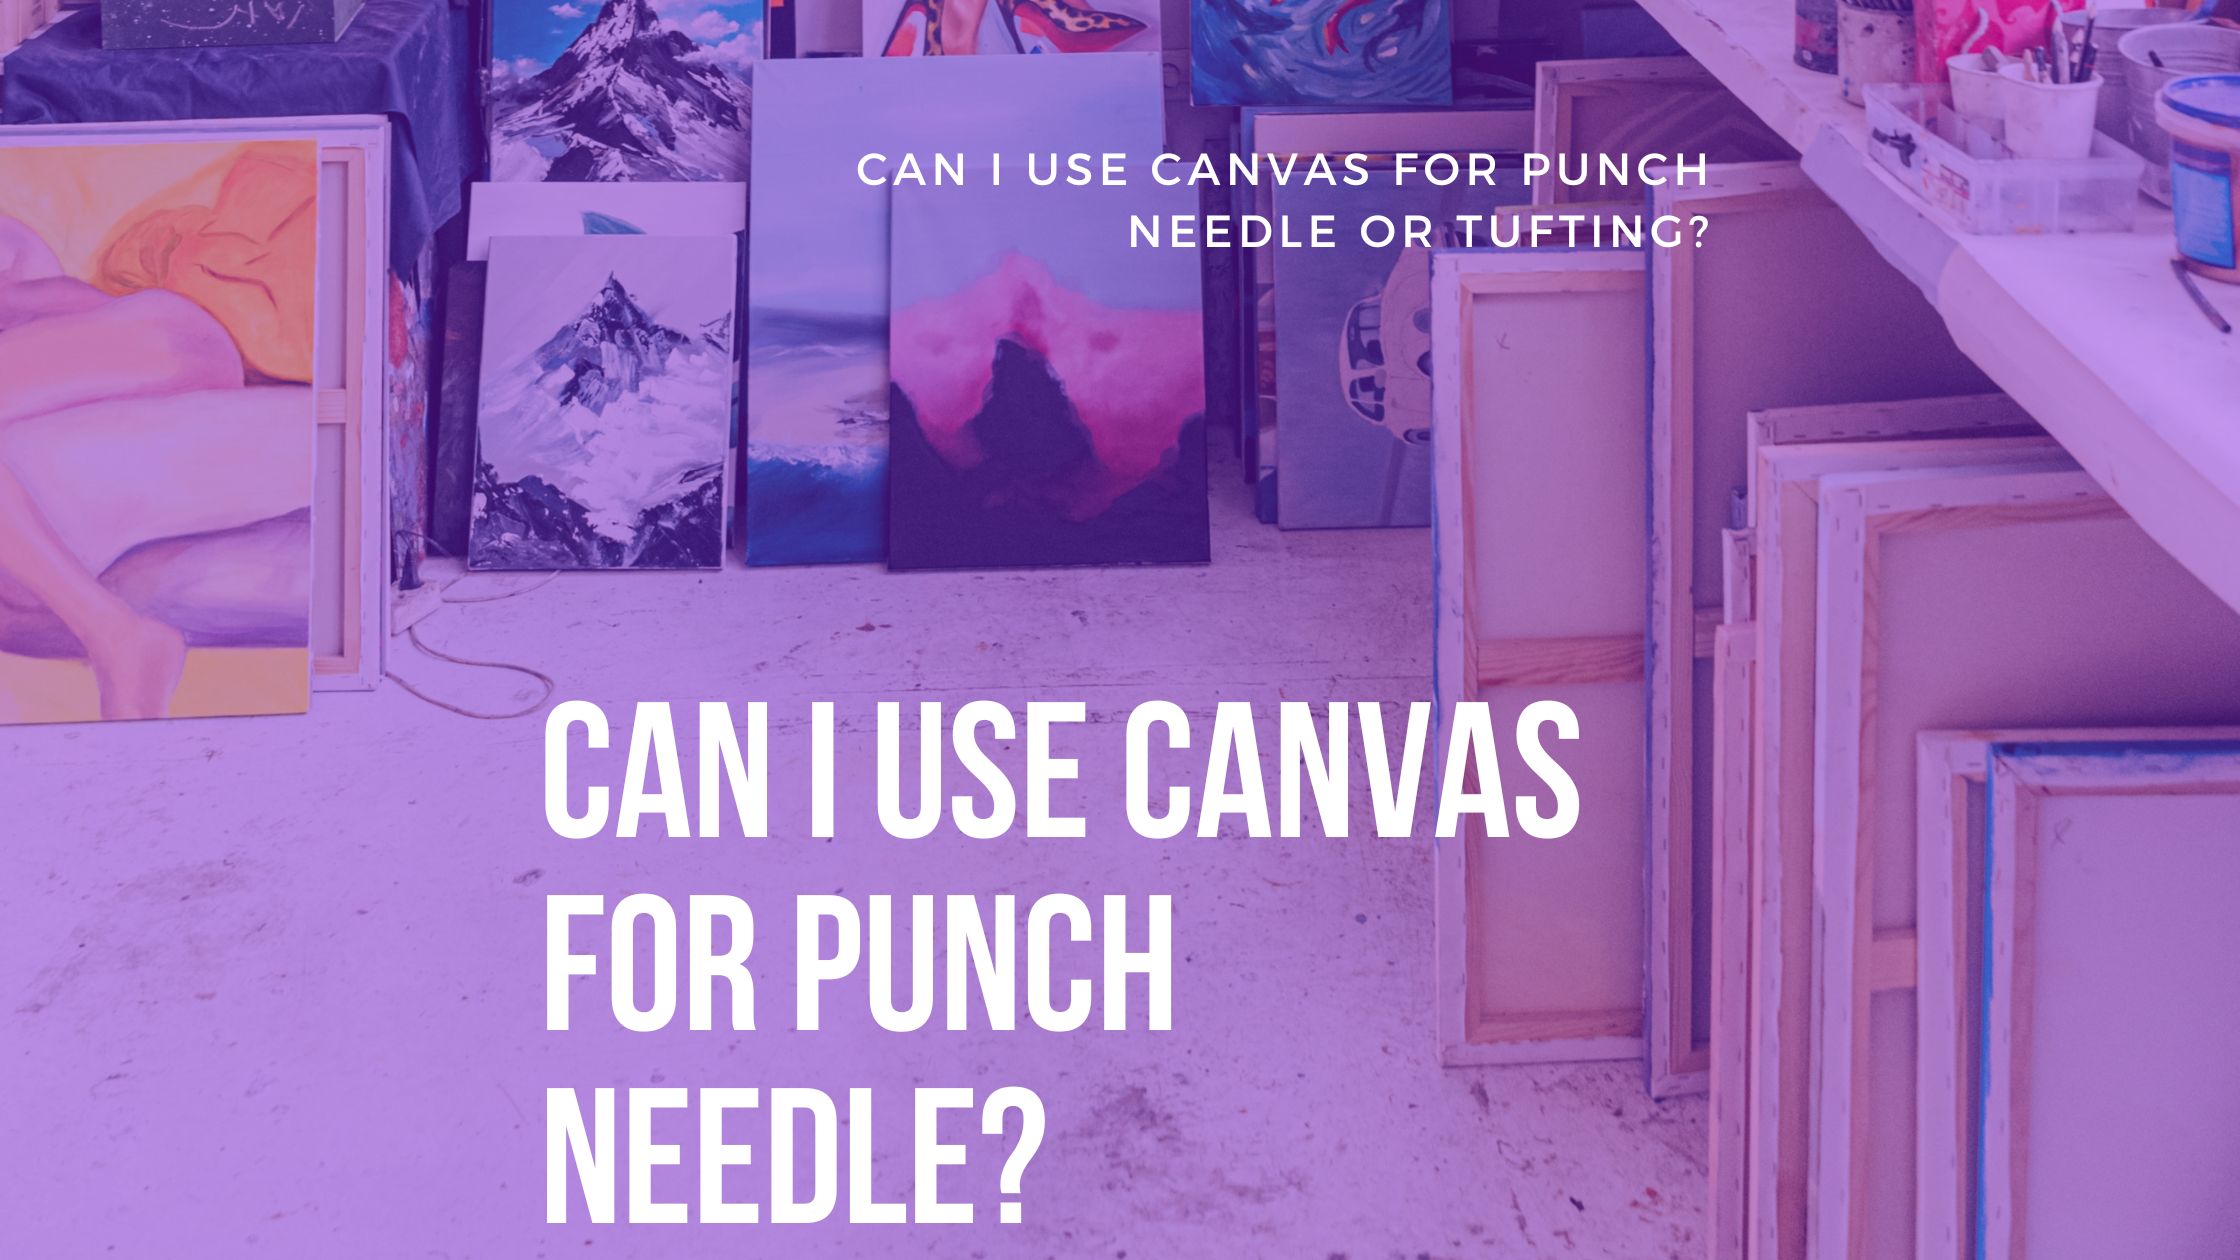
Can I Use Canvas For Punch Needle or Tufting?
It can be a difficult decision to invest a significant amount of money in a hobby that you do not have any experience with so far and just want to try out. It is possible to get creative and search for a cheaper and functionally sufficient way to have a frame for Punch Needle. Maybe it would even be possible to use it with a Tufting Gun with enough support.
The Punch Needling is way more beginner-friendly and I highly recommend starting with Punch Needles if you are thinking to start. It does exactly the same work with a loop pile tufting gun (You can check the difference between Cut and Loop Pile Tufting Gun here.) but it takes fairly more time to finish a rug piece. It is a way cheaper option so you can experience this craft without worrying too much about the initial investment cost. Since you choose the tool you would like to start, we can look for options to use as a frame for the punch needle.

Convert Your Canvas To Punching Frame
You can use the structure of the canvas as a frame but not the cloth! The painting cloth is not suitable either for Punch Needle or Tufting. But it is possible to modify it and make it suitable for Punch Needling with a few easy steps;
- Remove The Cloth
Firstly we need to remove the existing cloth on the canvas. After removing the staples behind the canvas, the painting cloth will leave itself without a problem. - Stretch Tufting Cloth
Since we have the empty canvas frame we can stretch our tufting cloth to our frame. If you want to learn more about tufting cloth, you can find more information here. - Fasten Up The Cloth To The Frame
After stretching the cloth, we need to fasten the cloth to the frame. You can use various materials to fasten such as staples, pins, and clips.

The frame for punch needling will be prepared after these steps. There are so many various sizes of canvases so you can choose the size by considering your design work. By using canvas, you won’t be worrying about fixing the back after the tufting. It is already will be ready to hang on your wall! However, it is always better to be safe, it is highly advised to apply some kind of backing to your piece. There are various ways of completing this step, you can check here to see 5 Finishing Techniques For Tufted Rugs.
Build Your Own Frame
You can also build Your own DIY Canvas without any hard work. It is not a very difficult step to complete, with a single hardware store visit you can easily collect all the necessary tools and build your frame in the dimensions you want to have. For the first frame as a beginner, it is better not to build a frame larger than 100cm x 100cm. Larger than this can be harder to work with as a beginner and create waste of tufting cloth.
To create your frame all you will need is;
- A few pieces of timber lumbers
- A Saw to cut timber pieces
- Steel corner fixation elements
- Screws
- Power Drill

You can check here our step-by-step process for frame-making with detailed descriptions.
If you do not have the necessary hardware tools or experience with DIY objects, the ready frame kit can be an easier option. There are a couple of different websites where you can purchase your frame start kit, like Amazon, AliExpress Tuft The World, or Etsy.

Other Option For Frame
Another option for a frame is to use an embroidery frame. You should only stretch your cloth on it and start working on your design. Some of these frames already have the necessary hook for hanging your art piece to the wall easily after you are done with tufting.
You can find various options in all the local craft stores or it is also possible to purchase it online from Amazon or AliExpress.


*Disclosure: I only recommend products I would use myself and all opinions expressed here are our own. This post may contain affiliate links that at no additional cost to you, I may earn a small commission.
Recommended Posts

How To Choose The Right Size Carpet? – A Guide For All The Rooms
December 18, 2022

Is It Hard to Punch Needle? EVERYTHING YOU NEED TO KNOW
December 17, 2022

Rug Clippers VS. Sheep Shears – The Best Rug Shaver
December 14, 2022