DIY Custom Rug Design
How To Design Your Custom Rug?
Tufting is a great craft that allows you to create your DIY custom rugs in any kind of shape you want. You can get creative with the design and the shape of it, you have unlimited design options without any limitations. As long as it fits into your tufting frame size you are totally good to go. Is it possible to use a great number of different tools and techniques, I will share my favorite workflow for designing a tufting rug.


You can start designing your rug with a simple sketch simple on paper or digitally with a drawing tablet. It is important to think about the size of the rug from the beginning because if it is going to be a smaller size rug it is better to keep it simpler without tiny details. It can be problematic to reflect these tiny details to the cloth by tufting.
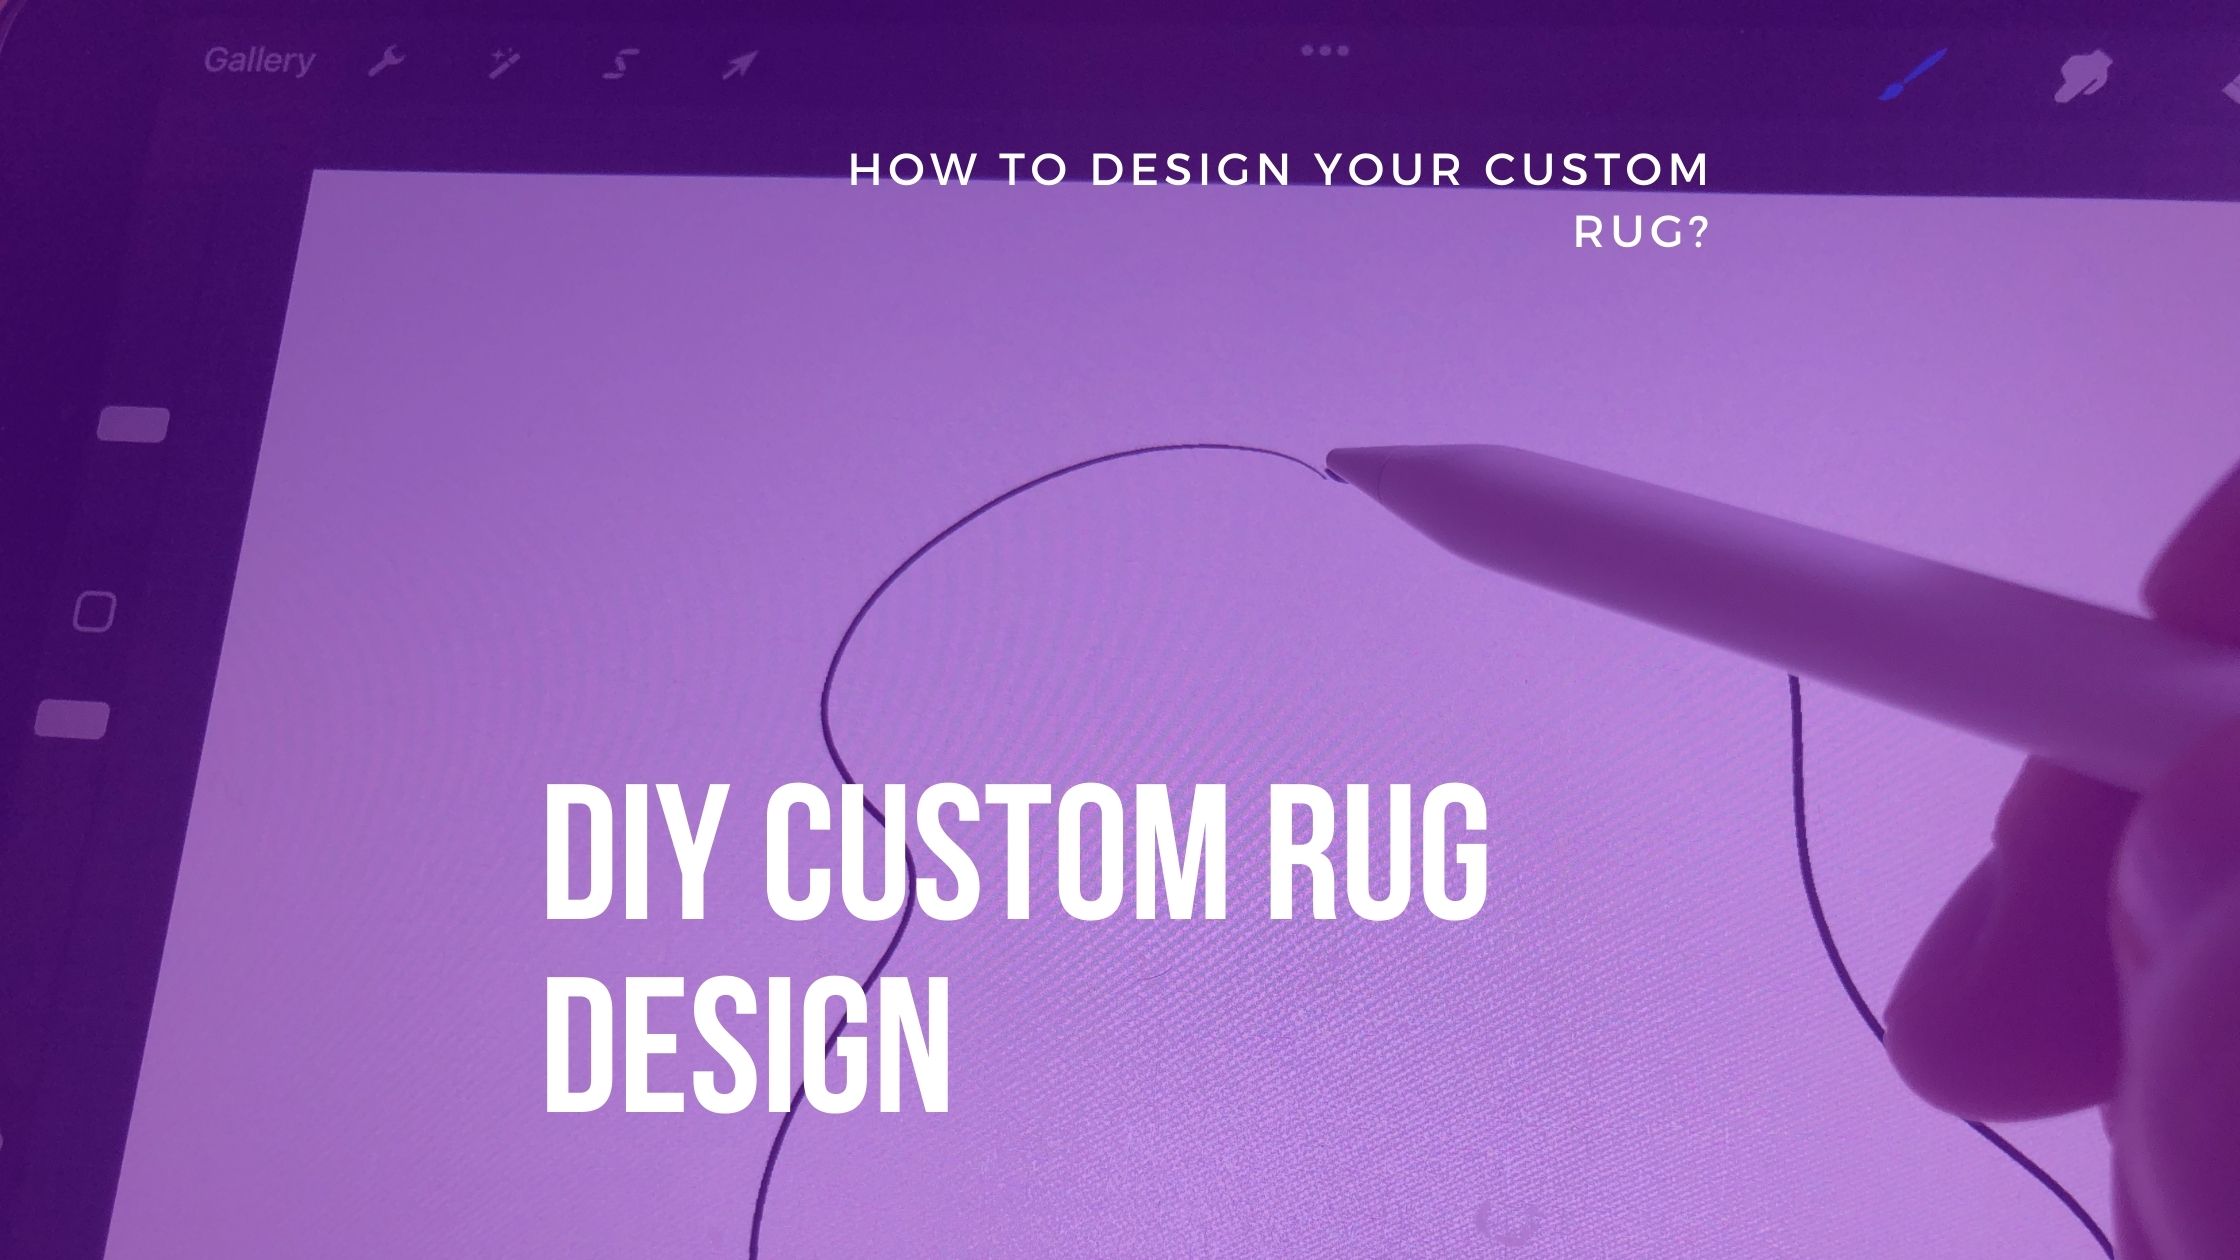
Personally, I prefer using Procreate Drawing App on the IPad to create new carpet designs. If you would like to create a portrait of a person or pet this tool can be really useful. It is easy to trace over the image and divide the figure into different color zones that you can tuft easily with your tufting gun or punch needle. You can see my drawing process for a dog portrait design.
Overall Dimensions
If you would like to create a floor carpet for a specific place in your house or in the case of a wall hanging rug if you want to design a rug for a specific wall with the existing composition, it is better to think about the overall dimensions of the rug first. This may limit your creativity because of these boundaries but if you start designing for a certain place without thinking about the dimensions it is possible to get lost in the tiny details that are not possible to reflect onto the tufting cloth.

It would make your life much easier when you are trying to put the final product in the desired place. Otherwise, you would probably need to arrange the overall placement of the other objects to create a proper place for the rug.
Drawing
Firstly, checking some examples of carpet design from platforms like Pinterest or Instagram can help if you are experiencing any lack of inspiration. There is nothing wrong with checking other people’s works and getting inspired by them, learning from their experiences.
We can assume that you have your initial idea about the design of your rug, now it is time to try to draw it more accurately, experience different layout options, and try out how it will look with different color combinations. It is better to think about the color and the amount of yarn you currently have access to so it would possible to order missing ones in advance.
For tracing over the lines you can use some washable marker pens and mark areas with different colors, you can purchase them for less than 5-10$ from Amazon.

Tracing To Tufting Cloth
Lastly, when the final design of your custom rug is ready, you can transfer it onto the primary tufting cloth. A projector would be essential in this step, especially if your design contains a lot of details. However, even if you don’t have a projector and do not want to invest money in that, it would be still possible to create your DIY tufted rug. The second easiest option would be by printing the design according to the real dimension you want it to be to a proper size paper, attaching it to the front side of the primary tufting cloth, and trying to trace lines over. A bright light source from the front and a darker room environment would help a lot.
It is time to grab your tufting gun -or punching needle- and start creating. You can check the step-by-step tufting process with useful tips here.
*Disclosure: I only recommend products I would use myself and all opinions expressed here are our own. This post may contain affiliate links that at no additional cost to you, I may earn a small commission.
Recommended Posts

How To Choose The Right Size Carpet? – A Guide For All The Rooms
December 18, 2022

Is It Hard to Punch Needle? EVERYTHING YOU NEED TO KNOW
December 17, 2022

Rug Clippers VS. Sheep Shears – The Best Rug Shaver
December 14, 2022
