How Do You Get Clean Lines In Tufting?
When we imagine a tufted rug, everyone thinks of a beautiful clean-looking design, with no overlapping between the different colors in the rug’s creation. But when you first start tufting yourself, you may be disappointed because of the massy, not so clean looking edges between the different tones in the design. This minor issue can create a massive difference in the final quality of your carpet. Do not worry, thought; it is not hard to turn this problem around and achieve a fascinating rug.
To achieve clean and elegant-looking rugs, you need to put in some extra effort at the end after all the stages of the creation process are done. However, it would be beneficial if you could shave and trim the edges of different colors once you are done tufting with the particular color. If you can take the time and shave the boundaries of each color before you start tufting with a different color, it would be easier to shave the edges from the empty sides. Because probably you did not begin tufting on that area of the rug. So the most practical steps you can take to achieve a clean-looking line in your design are:
- Trim the edges after each tufted colour
- Carve the edges between different colors with an angle
- Use good quality scissors to clean overlapping edges.
- Use tweezers to pull out wrong-placed yarn strips
You can find a detail explanation with step-by-step photographs in the following part of the article.
Trim the edges after each color
This is the hands-down easiest and, in my opinion, most practical technique. If a particular rug design involves five different colors, I always start with the color that covers the rug’s minor portion and continue in this order. If you follow the same logic, it would be super convenient and easier to shave the edges of the tufted part from the accessible sides.
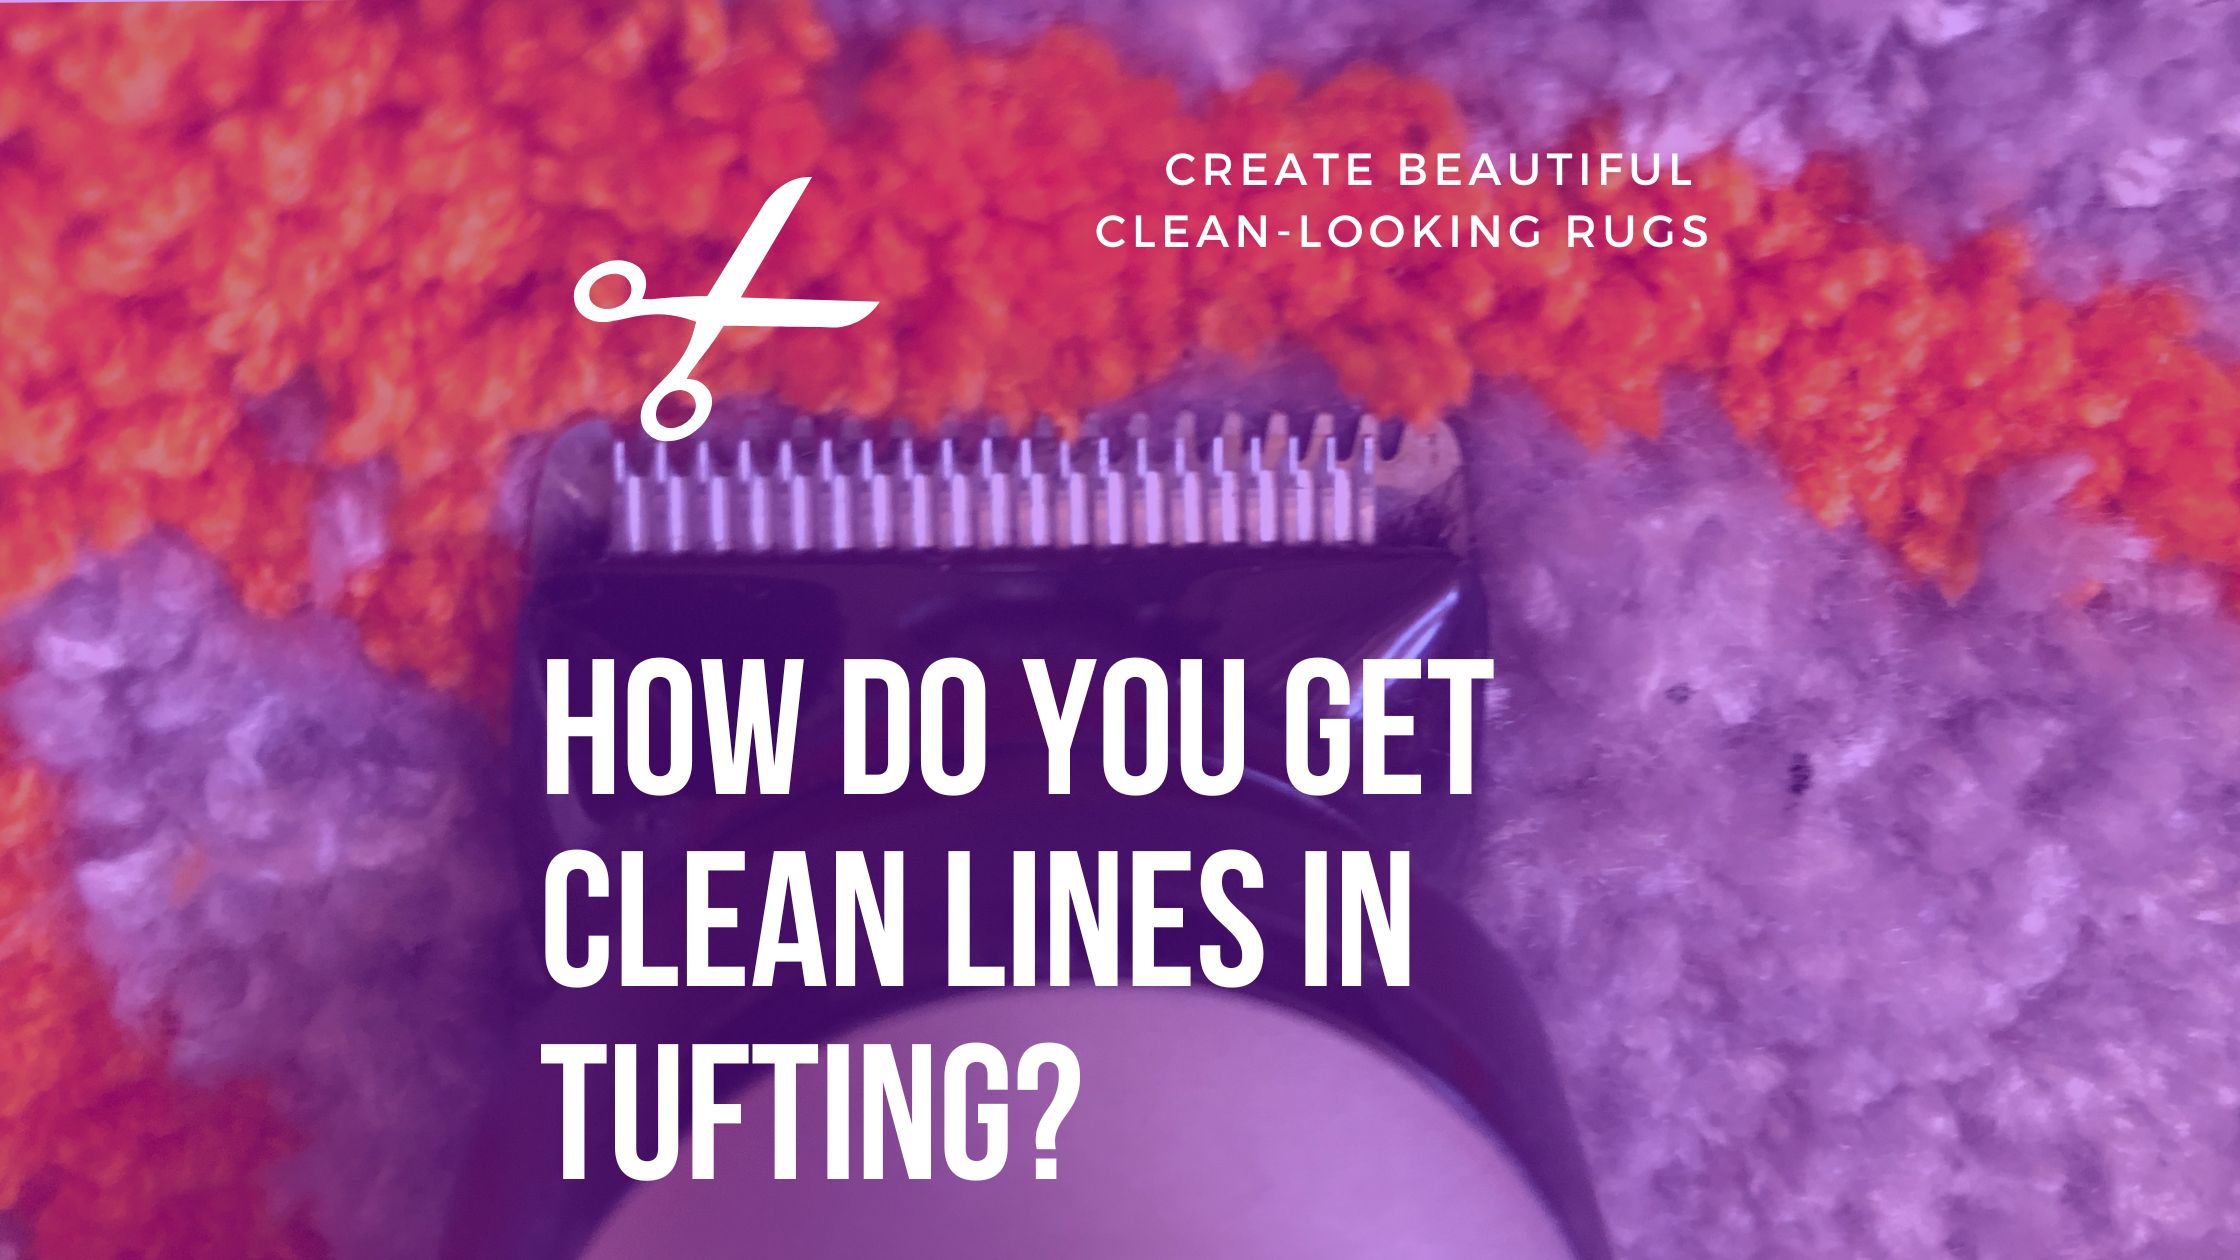
To trim the sticking-out yarn pieces, you can easily use rug shaving clippers or good-quality scissors. Using sheep shear clippers may not be so easy to reach smaller corners and trim the edges smoothly. You can even easily damage the tufting cloth with the sharp edges of the shear clippers. I use rug shaving clippers (also known as pet grooming clippers), and you can check the current price here.
Carve the edges of the different colours
Once you finish the tufting process, you can start backing and shaving the overall rug surface. During this cleaning phase, it would be recommended to spend a bit longer time and carve the edges where two different colors meet. Doing this and creating a slight difference in these parts will make a more distinguishable difference and clean-looking rug.
You can try experimenting this method not only create a difference between the different part of the areas.
In addition to creating a more aesthetic rug, you can also create 3-Dimensional patterns and designs with the help of carving the carpet in different thicknesses. You can find outstanding examples done by yarn artists down below.
Use electronic scissors to clean edges perfectly
Automatic scissors started becoming more and more popular these days with the increasing interest in tufting. If you have good quality, sharp scissors and comfortable use, you do not need to upgrade them. But if you are looking for one to increase the quality of the lines and create a clean-looking, smooth transition, you can think of investing in automatic scissors.
The price for this kind of tool may vary between 25$ and 200$. It is possible to find many alternative models on Amazon or local shops like Home Depot.
You can check the current price of our recommended model here.

Create outlines with a darker colour
In addition to previous practical cleaning and adjusting techniques, this one is a bit different in terms of logic. Adding a darker color strip around the rug’s design will help to create a difference between the background color and the actual figure in the design. It will be more eye-catching and make it pop out in the design.
This trick works best in the case of portrait rugs or rug designs with a particular object in focus. If you can add a 1-2 inch thick belt around the object, it will increase the quality of the design. Of course, you will still need to clean and shave the yarn on the edges, but it will add an extra level for detailedness.
In addition to the darker strip around the design, you may want to create contracts between the foreground and background of the rug design.
Use tweezers to pull out wrong placed yarns
Even if you do a fantastic job with carving and shaving between the different colors, if there is some overlapping between the different colors, it will not have a clean look. When there are a lot of tiny details in the design, it is not always easy to separate different colors. It can look like separated strips on the back side, but the smaller yarn strips may overlap each other on the front side.
In this case, the easiest solution would be pulling out these strips with the help of a tweezer. I would recommend doing this first, especially before the gluing process. You can still pull them out after the glue is dried, but it will make it harder to do. Even though it sounds super simple, this is probably the most effective one among other tips.
There is a small line between an amateur rug and with shaky and clean-looking professional carpet. The quality difference between the final products is enormous, but it is easily achievable with these five tips and tricks. If you keep them in my for your next rug, you will be amazed by the final result. But in addition to your future work, you can easily apply most of them to your previous designs. Happy tuftings 🙂
*Disclosure: I only recommend products I would use myself and all opinions expressed here are our own. This post may contain affiliate links that at no additional cost to you, I may earn a small commission.
Recommended Posts

How To Choose The Right Size Carpet? – A Guide For All The Rooms
December 18, 2022

Is It Hard to Punch Needle? EVERYTHING YOU NEED TO KNOW
December 17, 2022

Rug Clippers VS. Sheep Shears – The Best Rug Shaver
December 14, 2022
